|
Installing a Rumble Undertail on my 2001 Kawasaki ZX9R
So. I've had this undetail laying around the house for almost a year with the best intentions. Finally I got it custom painted (it came in black, needed it Firecracker Red), waited the obligatory 30 days before handling, and then got to work. And what a job it was. Worst part was I had to get it done by Saturday since there was this covered bridge ride out through Lancaster County that I couldn't miss.
|
|
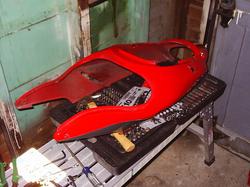
Here is the original undertail. There is already a fender eliminator kit installed, but that will go away too.
|
First I removed the fender eliminator kit (tag and turn signals)
|

Then the tail lights. Notice the stock black undertail. That will get covered.
|
|
Now I removed the seat cowling. I was afraid it might break, but after having it on and off 50 times during this install, I found the thing is pretty durable.
|
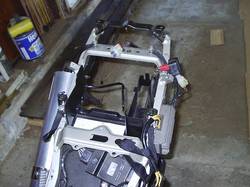
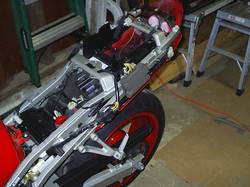
Shot from above. To the right you can see the new undertail.
|
Cowling. No I didn't need the hammer after all...
|
|
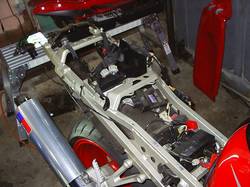
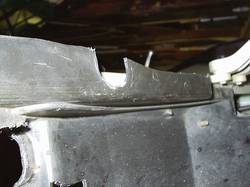
To get the new undertail to fit, much of the old one has to be cut out. I actually cut more than this, but you get the idea.
|
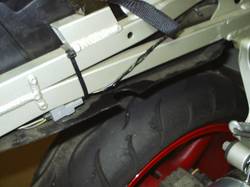
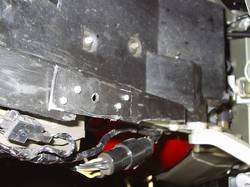
There was a fitting here on the orig undertail for a screw, but I had to cut it out and fabricate a new one that was up out of the way
|
Looking up at where the fitting was. It hung too low, so I fab'd a new one using pieces of undertail I had cut away earlier
|
|
The new piece secured with screws. Now I have a mount high enough to attach the new undertail.
|
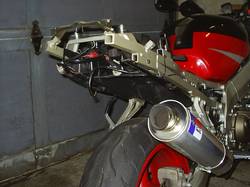
The undetail secured with nylon screws to the fabricated mounts.
|
I cut and fitted for hours, literally. In the end, I had to file away parts of the new undertail to fit it. I found out fiberglass files pretty easily.
|
|
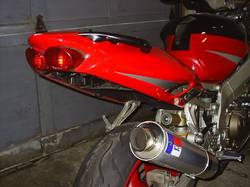
Finally, it fits. The wiring was all done with wire nuts, but I'll fix that later. It's now 11pm and I have a 250 mile ride tomorrow....
|
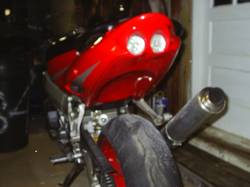
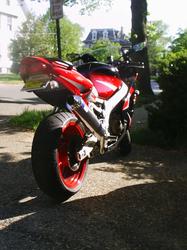
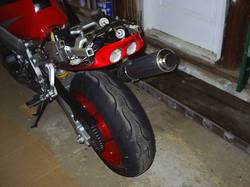
It looks much better than the old one. And the tag? Oh yeah, forgot about that.
|
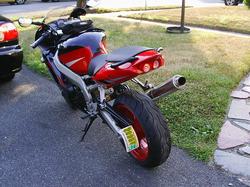
I actually mounted the tag off the rear axel using a plate holder I bought online.
|
|
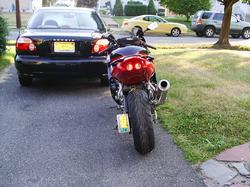
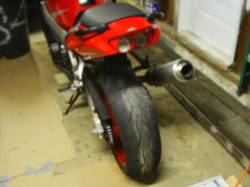
Another shot. The tail lights are LEDs, with integrated turn signals.
|
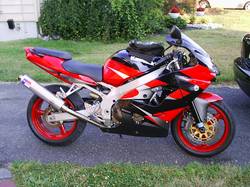
Lets ride.
|
|
|
|
|
|
|
|
|
|
|
|
|
|
|
|
|
|


